Query and Index Smart Contracts on Morph using Goldsky


Introduction
Picture this: you're a developer with a brand-new smart contract deployed on the Morph. Your next challenge is to efficiently query and retrieve on-chain data for your decentralized application (dApp). That's where subgraphs come in. Subgraphs offer a powerful and flexible way to index and query blockchain data, making it easy to build responsive and data-rich dApps.
In this tutorial, we'll walk through deploying a smart contract on the Morph chain and setting up a subgraph to query this contract. We’ll also introduce Goldsky, a tool that makes creating and managing subgraphs a breeze. Let’s get started and see what we can build together!
Real-World Use Cases for Subgraphs
Subgraphs are incredibly useful in various scenarios, such as:
Decentralized Finance (DeFi): Indexing and querying trading volumes, liquidity pools, and token swaps.
NFT Marketplaces: Tracking ownership, sales, and metadata of NFTs.
DAO Governance: Fetching proposal details, vote counts, and participant information.
Supply Chain Management: Monitoring the flow of goods and verifying transactions.
What is a Subgraph?
A subgraph is a way to ingest, process, and index data from a blockchain. It lets you define which data to index and how to store it, making it easy to query later. Subgraphs are exposed to developers via GraphQL APIs, allowing users to query the transaction data happening on their contract in real time. Subgraphs are especially beneficial for developers of complex, custom smart contracts that need to have robust frontend interfaces.
Why Use a Subgraph Instead of Direct Contract Queries?
You might wonder, "Why not just query the contract directly using tools like Wagmi?" Here are a few reasons why subgraphs are often a better choice:
- Efficiency: Direct contract queries can be inefficient and slow, especially when dealing with large datasets. Subgraphs index data off-chain, enabling faster and more efficient queries.
- Complex Queries: Subgraphs allow for more complex queries that can involve filtering, sorting, and aggregating data, which can be cumbersome to do directly on-chain.
- Reduced Load: By offloading data processing to subgraphs, you reduce the computational load on the blockchain, which can be beneficial for both your dApp's performance and the network's health.
- User Experience: Faster and more efficient data retrieval improves the user experience, making your dApp more responsive and engaging.
Introducing Goldsky
Goldsky is a high-performance data indexing provider for Morph that makes it easy to extract, transform, and load on-chain data to power both application and analytics use cases.
It provides an intuitive interface and powerful features that streamline your development workflow, allowing you to focus on building your dApp without worrying about the complexities of data indexing.
What are we building?
In this tutorial, we will build a subgraph that indexes data from our Fractionalized real-estate dApp. We will use the subgraph to query details about properties, including ownership shares, prices and more.
By the end of this tutorial, you will have a functional subgraph, and knowledge to create rich, data driven applications.
Setting up your environment
Before we start building, let us set up our environment. We will need a few tools and dependencies to get everything up and running.
Prerequisites
- Node and npm: Ensure you have nodejs and npm installed. You can download them from nodejs.org .
- Git - You will need git for version control.
- Graph CLI: The graphcli is essential for creating and deploying subgraphs
For Mac pc users, consider running this command with “sudo”.
Setting up a new project
Creating your subgraph
Create a package.json file by running the following command in your terminal
The above command creates a package.json file and installs graph protocol types.
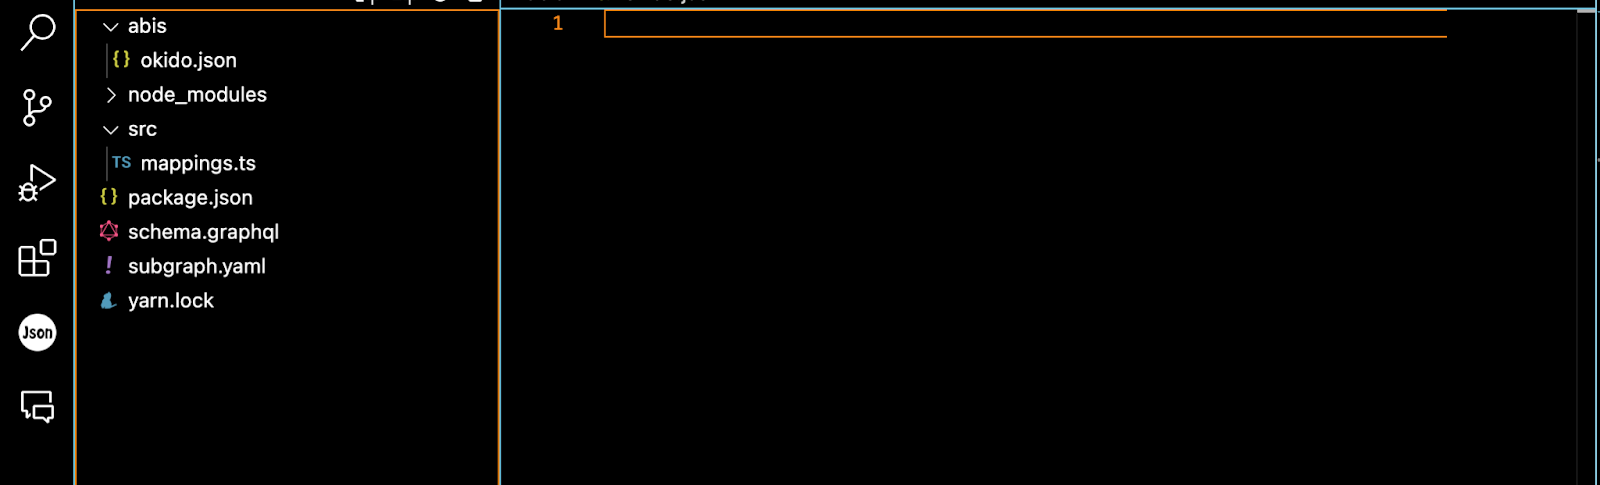
In the root of your project, follow these steps to set up the necessary files and folders:
- Create a folder named abis and within it, create a file called Okido.json.
- Create another folder named src and within it, create a file named mapping.ts.
- In the root directory, create two additional files: schema.graphql and subgraph.yaml.
Your project directory should look this:
Adding the ABI
In your /abis/Okido.json file, paste in the abi for the Okido finance platform. You can access the abi here.
Defining the schema
Navigate to the schema.graphql file and paste the following schema. The schema defines the types and relationships between our different entities.
Write the mappings
Open the src/mapping.ts file and define the handlers for the events emitted by your smart contract. These functions constitute the logic that will run when an event is emitted. The function in our mappings allows us to fetch all properties, users and share data. You can copy the mappings for our project below :
Configure the subgraph/manifest
Navigate to the subgraph.yaml file in the root of your project and configure it to index the events from your smart contract. Copy the manifest below and paste it into your project.
In this manifest,
- Source: The address points to the deployment address of the Okido finance dApp, and the startBlock refers to the block where we intend to start indexing from. In this case, it's the block where the contract was deployed. You can get these details from the morph holesky explorer.
- Entities: This refers to the types we created in our schema. For our project, we have five entities.
- Event Handlers: This specifies the event from the smart contract we are indexing (Okido finance in this case. You can check out the contract here) and the handlers which perform logic as described in our mappings.ts file.
Building the subgraph
In your terminal, run:
This generates the types and loads the abi of our project. Afterwards, you run:
Deploying on Goldsky
To deploy our subgraph on Goldsky is really easy and just a few simple steps.
- Navigate to app.goldsky.com on your browser to create an account.
- Create an API key on the settings page.
- Install the Goldsky CLI and Login:
Run the login command and add the API key created earlier:
Deploying the subgraph
To deploy your subgraph, run the following command
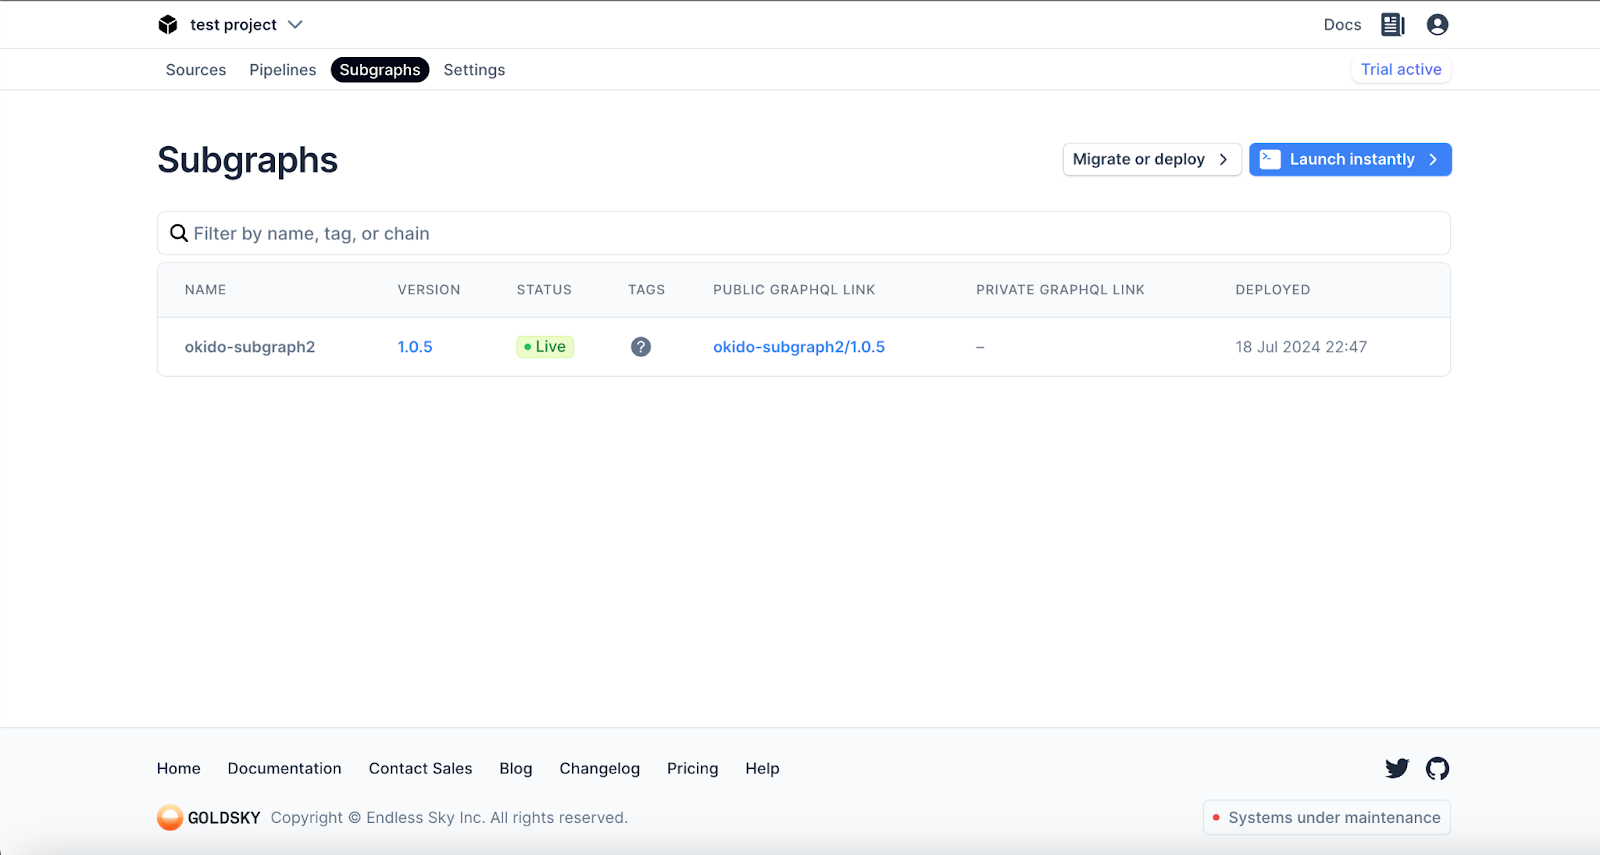
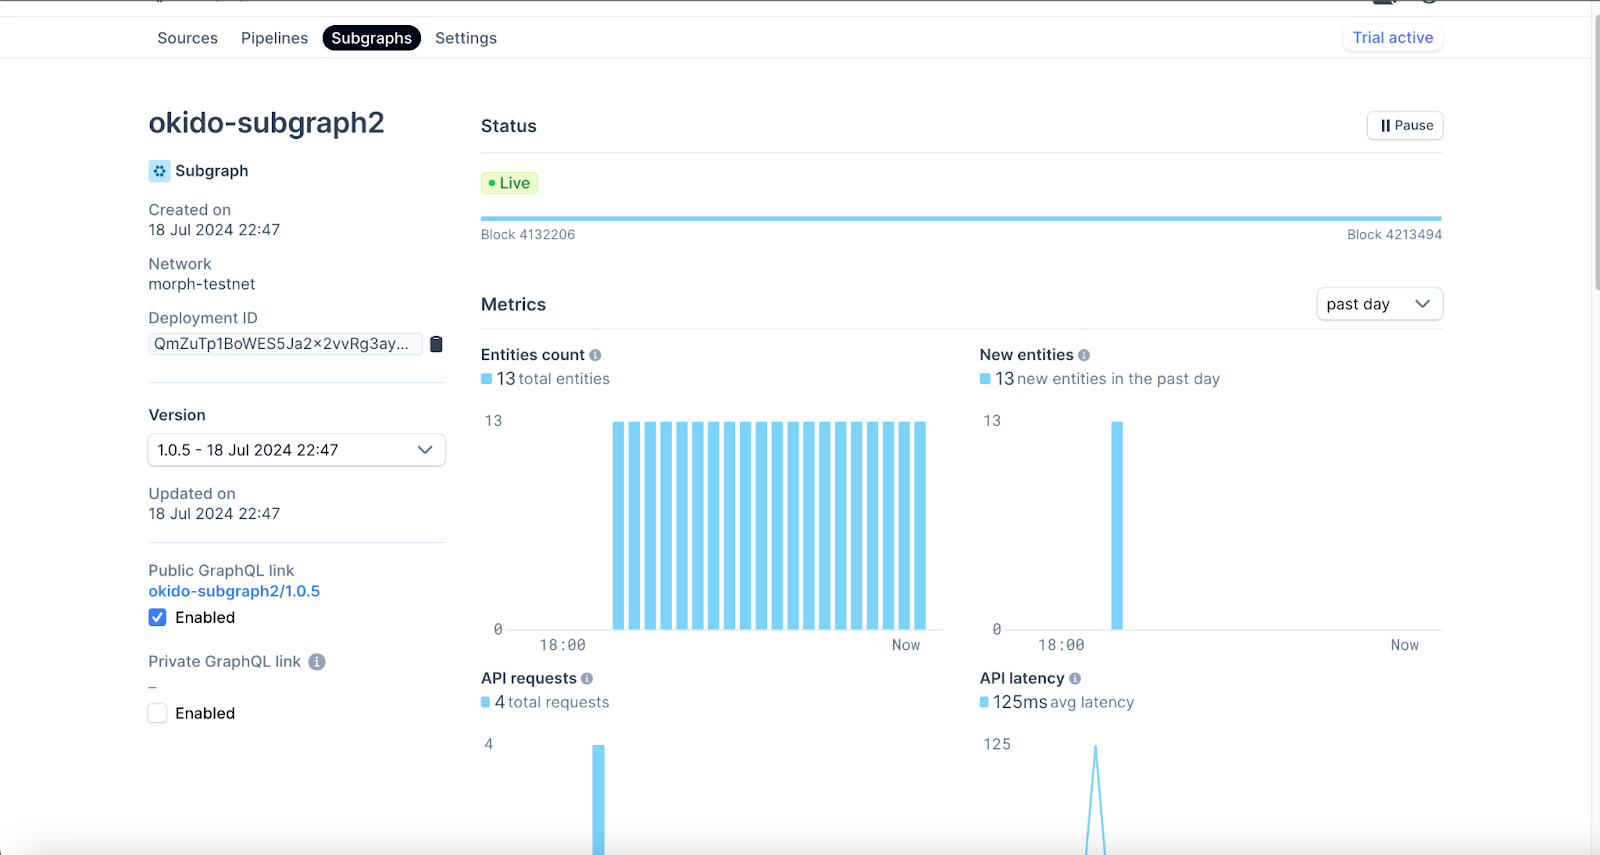
And voila! You should get a message saying your subgraph has been deployed. You should also be able to see your deployed subgraph on your project dashboard.

Querying our subgraph
We are going to be making two queries to test our subgraph.
- Fetching all properties.
- Fetching a single property using its token id.
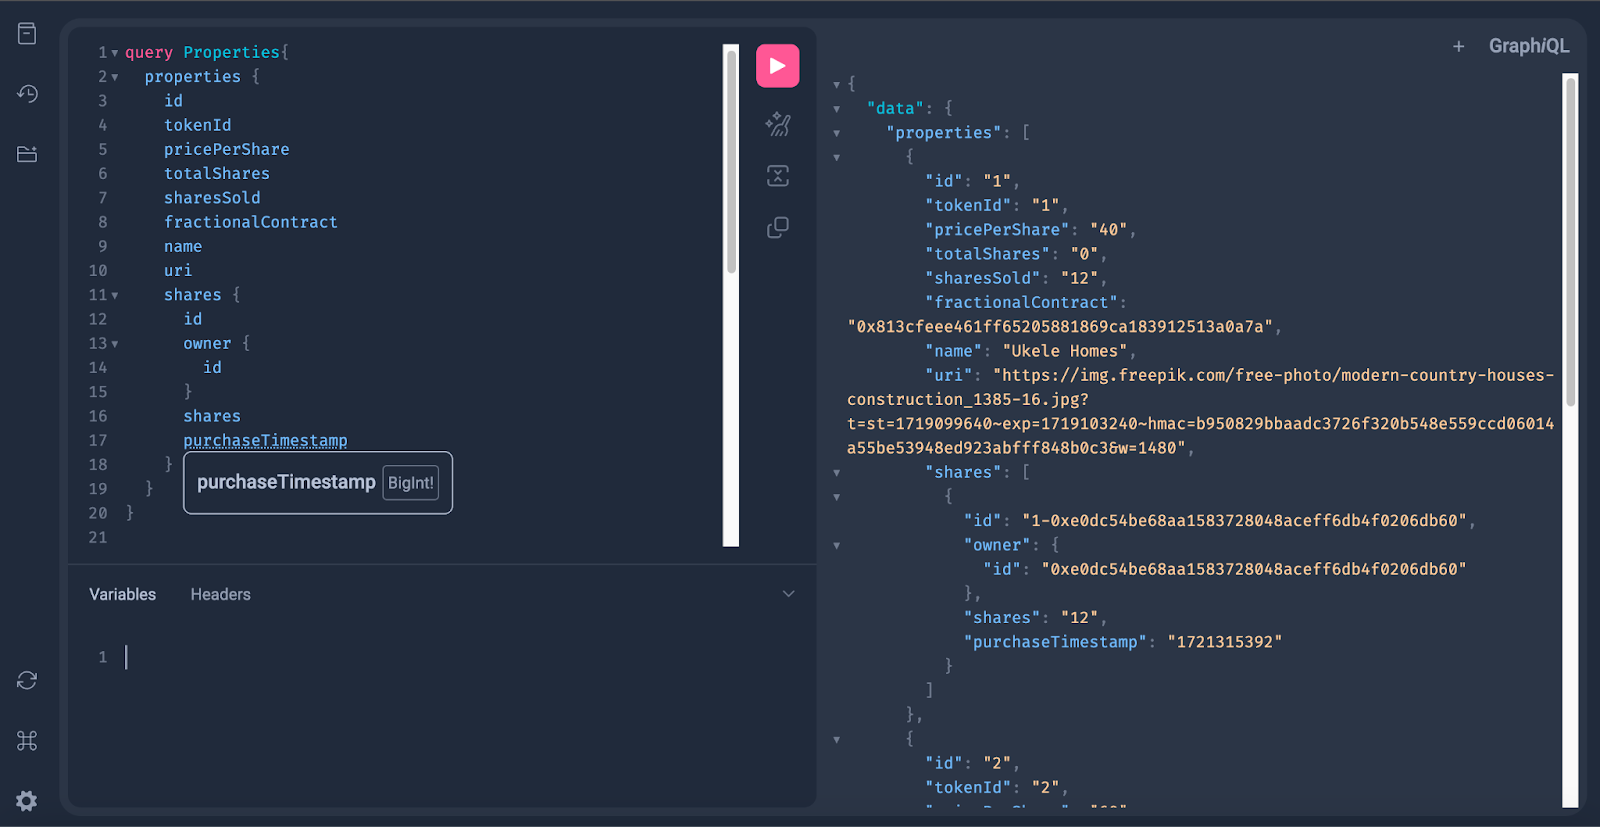
Fetching all properties
To do so, click on the public graphql link to open the graphql playground. Then, run the query below to fetch all properties.
You should get the result of our query which lists every property created and share details for each.
Fetching a single property with token id
To fetch a single property with an ID, we will modify our query as follows:

Conclusion
Congratulations! You've successfully built a subgraph for querying data from a smart contract deployed on the Morph chain. You've learned how to define a schema, map events from your contract, and deploy your subgraph using Goldsky. This subgraph allows you to efficiently query and index blockchain data, providing a powerful tool for building more responsive and dynamic applications.
If you found this guide useful, leave a comment. You can check out the complete code for this project here. If you have any questions or get stuck, create an issue on github or reach out on discord.