Developer guide: Building a fractionalized real-estate dApp

Learn how to build a real estate dApp on top of Morph Holesky testnet.
Introduction
Imagine being able to invest in a high-value real estate property without needing to shell out a huge amount of money upfront. Sounds pretty appealing, right? This is the magic of fractionalization. By dividing a property into smaller, more affordable shares, fractionalization makes it possible for just about anyone to get in on the real estate action. It’s like turning a luxury mansion into a bunch of reasonably priced slices that you can buy and sell easily, just like stocks.
Our project today, Okido Finance, takes this idea and builds a decentralized application (DApp) around it. With Okido Finance, property owners can create shares of their real estate assets and investors can buy these shares using a custom ERC20 token. This not only democratizes real estate investment but also adds a layer of liquidity, making it easier to trade shares and get in or out of investments.
In this tutorial, I’ll walk you through building the Okido Finance DApp step by step. We’ll start with setting up the development environment, move on to deploying smart contracts, and finish with designing a user-friendly UI.
By the end, you’ll have a solid grasp of how to build a decentralized real estate fractionalization platform. Whether you’re looking to create something similar or just want to learn more about these technologies, you’ll be well-equipped to dive deeper into fractionalization. Let’s get started!
Objectives
By the end of this guide, you should be able to:
- Use the Morph starter template.
- Create and deploy smart contracts on Morph
- Interact with your smart contract from the frontend.
Background on Morph
Morph exemplifies the application of modular design principles within the Layer 2 (L2) solutions. By adopting a modular architecture, Morph offers unparalleled flexibility, allowing developers to tailor their apps by integrating only the necessary modules. This strategic approach not only optimizes performance by reducing complexity but also ensures that the platform can swiftly adapt to technological advancements without overhauling the entire system. Morph's dedication to modular design sets it apart from conventional L2 solutions, fostering an environment where developers can unleash their creativity to build more efficient, scalable, and innovative decentralized applications (dApps).
Read more about morph and its modular architecture
What are we building?
We are building a fractionalized real-estate dApp that allows the owner to list properties for users to acquire shares or fractions of that property.
What we'll cover:
- Setting up your environment
- Creating your smart contract
- Deploying your smart contract
- Getting started with the frontend
- Interacting with your smart contract from the frontend
Step 1: Setting up your environment
Morph starter kit:
This guide will be built using the Morph starter kit . This kit abstracts away, all complexities involved in setting up and configuring your project.
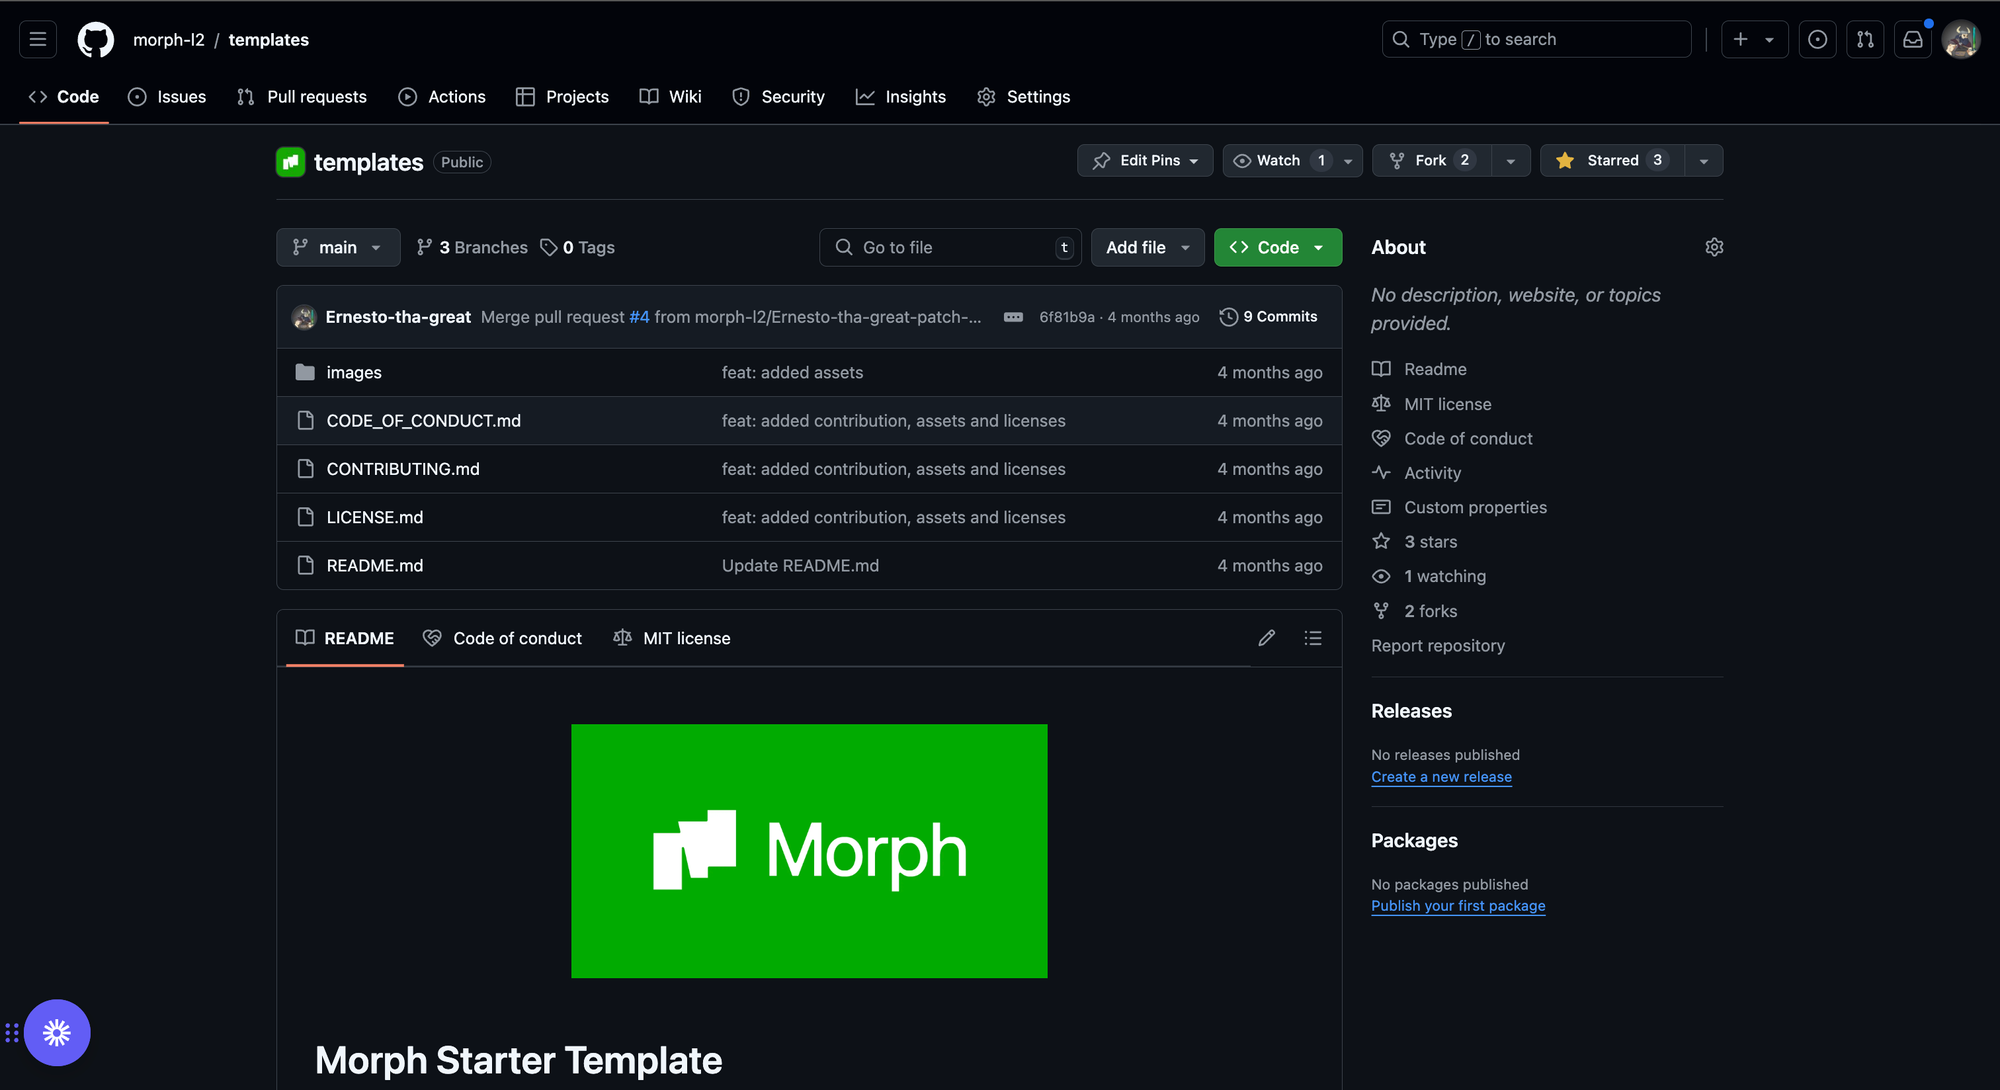
- Go to the starter kit repo and follow the command in the README to completely setup your environment.
- Clone the repository to your local environment and in the contracts directory, run “forge compile” and also, “yarn install” in the frontend directory.
- Create a “.env” file and add your private key, alongside the RPC_URL for Morph testnet. Your env file should look like this:
- In the frontend folder, ensure you have installed the dependencies by running “yarn” and then create a “.env.local” file. Paste in your wallet connect project id.
Get your wallet-connect id here
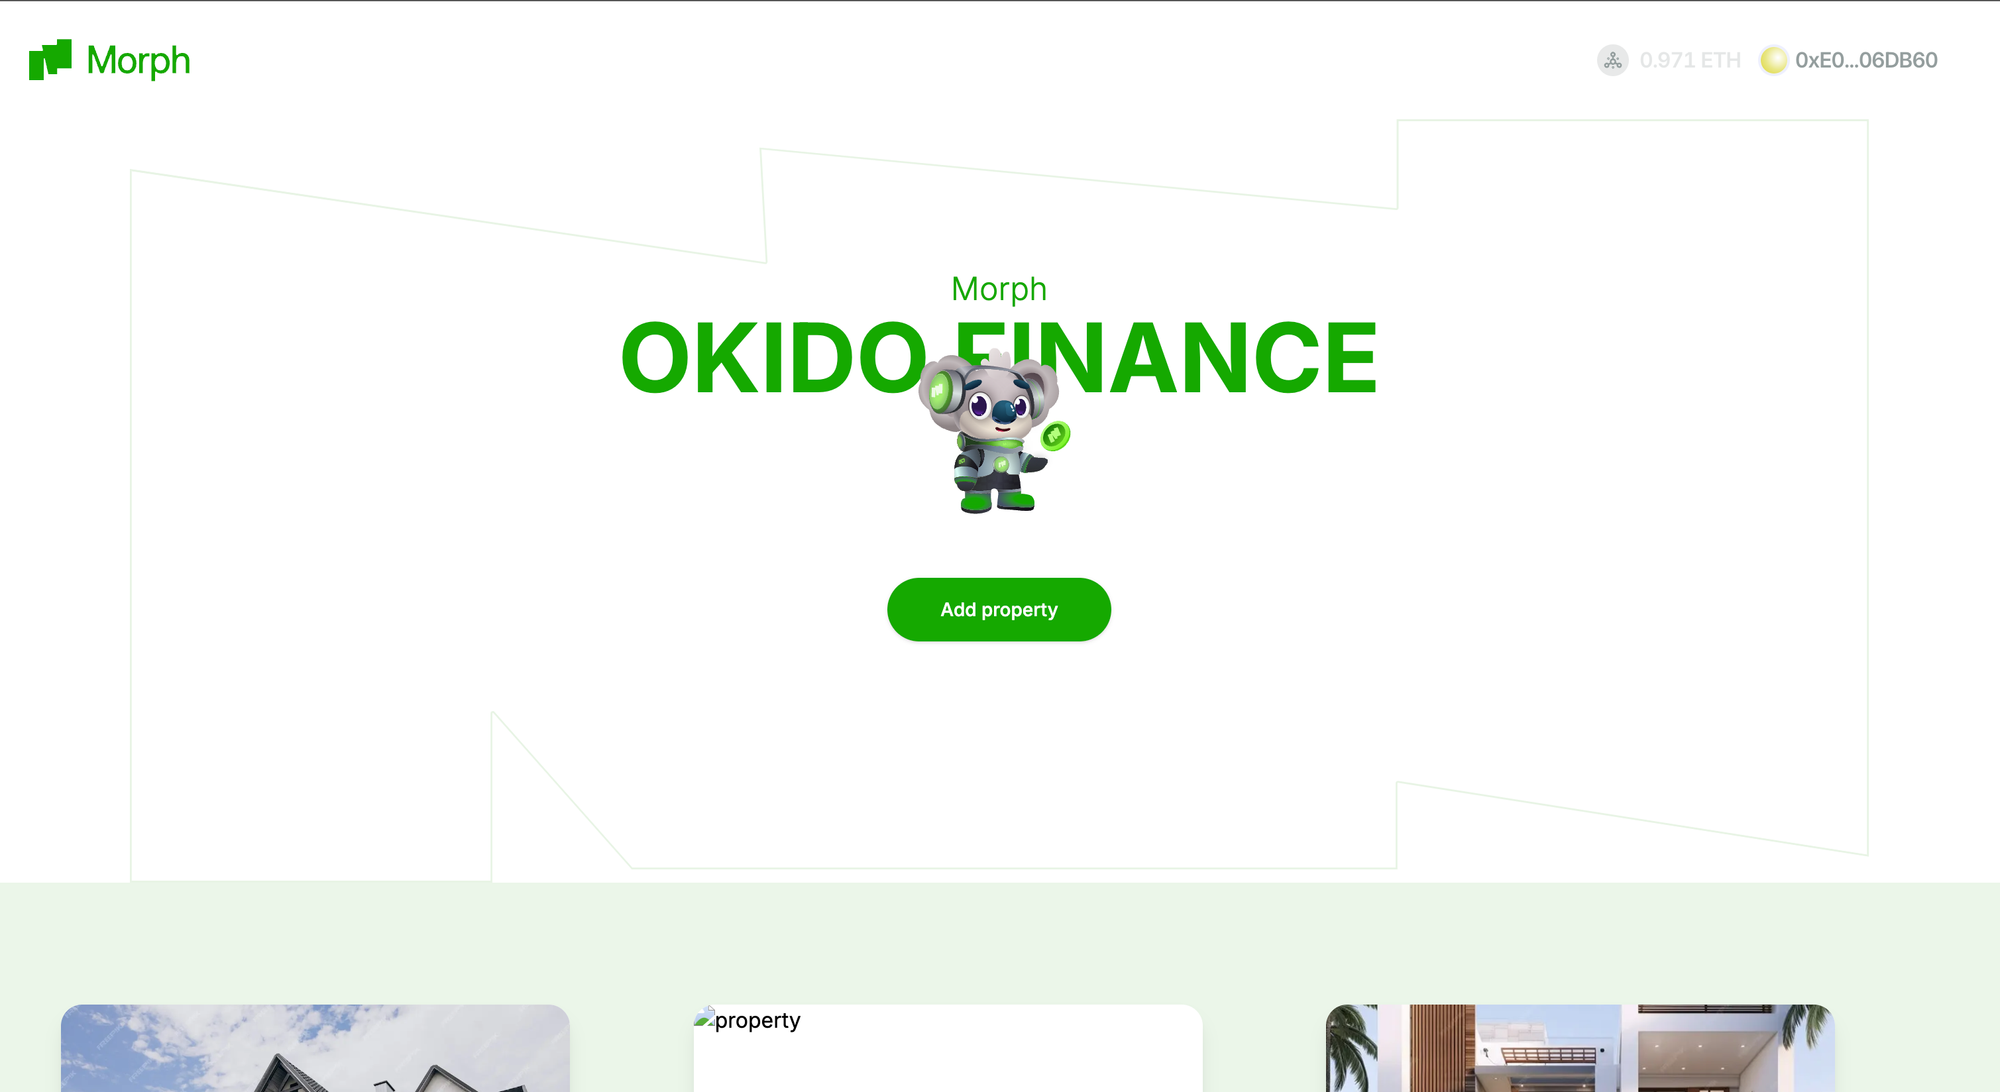
- Run “yarn dev” on your terminal and your starter kit should look like this:

Step 2: Creating your smart contract
- Navigate to the “src” folder in the “contracts” directory.
- Create four files. “OkidoToken.sol”, “OkidoPropertyNFT.sol”, “FractionalOwnership.sol” and “OkidoFinance.sol”
OkidoToken.sol
This is the ERC20 token that is used as the default currency for the platform. It is used in buying shares of properties.
OkidoPropertyNFT.sol
This allows the platform owner to mint NFTs representing the individual properties. All properties created are managed by this contract.
FractionalOwnership.sol
This contract manages the fractional shares of a property. Each property has its own fractionalOwnership contract.
OkidoFinance.sol
This is the main contract of the platform and handles:
- Property creation by minting a new NFT and deploying a new FractionalOwnership contract.
- Listing properties and allowing users to buy fractional shares.
- Keeping track of user investments in properties
The code for the okidoFinance contract can be found here.
Step 3: Deploying your smart contract
- In the contract directory, navigate to the scripts folder and paste in the script below:
- In your terminal, run:
- Deploy your contracts by running the command below in your terminal
- You see the output below in your terminal
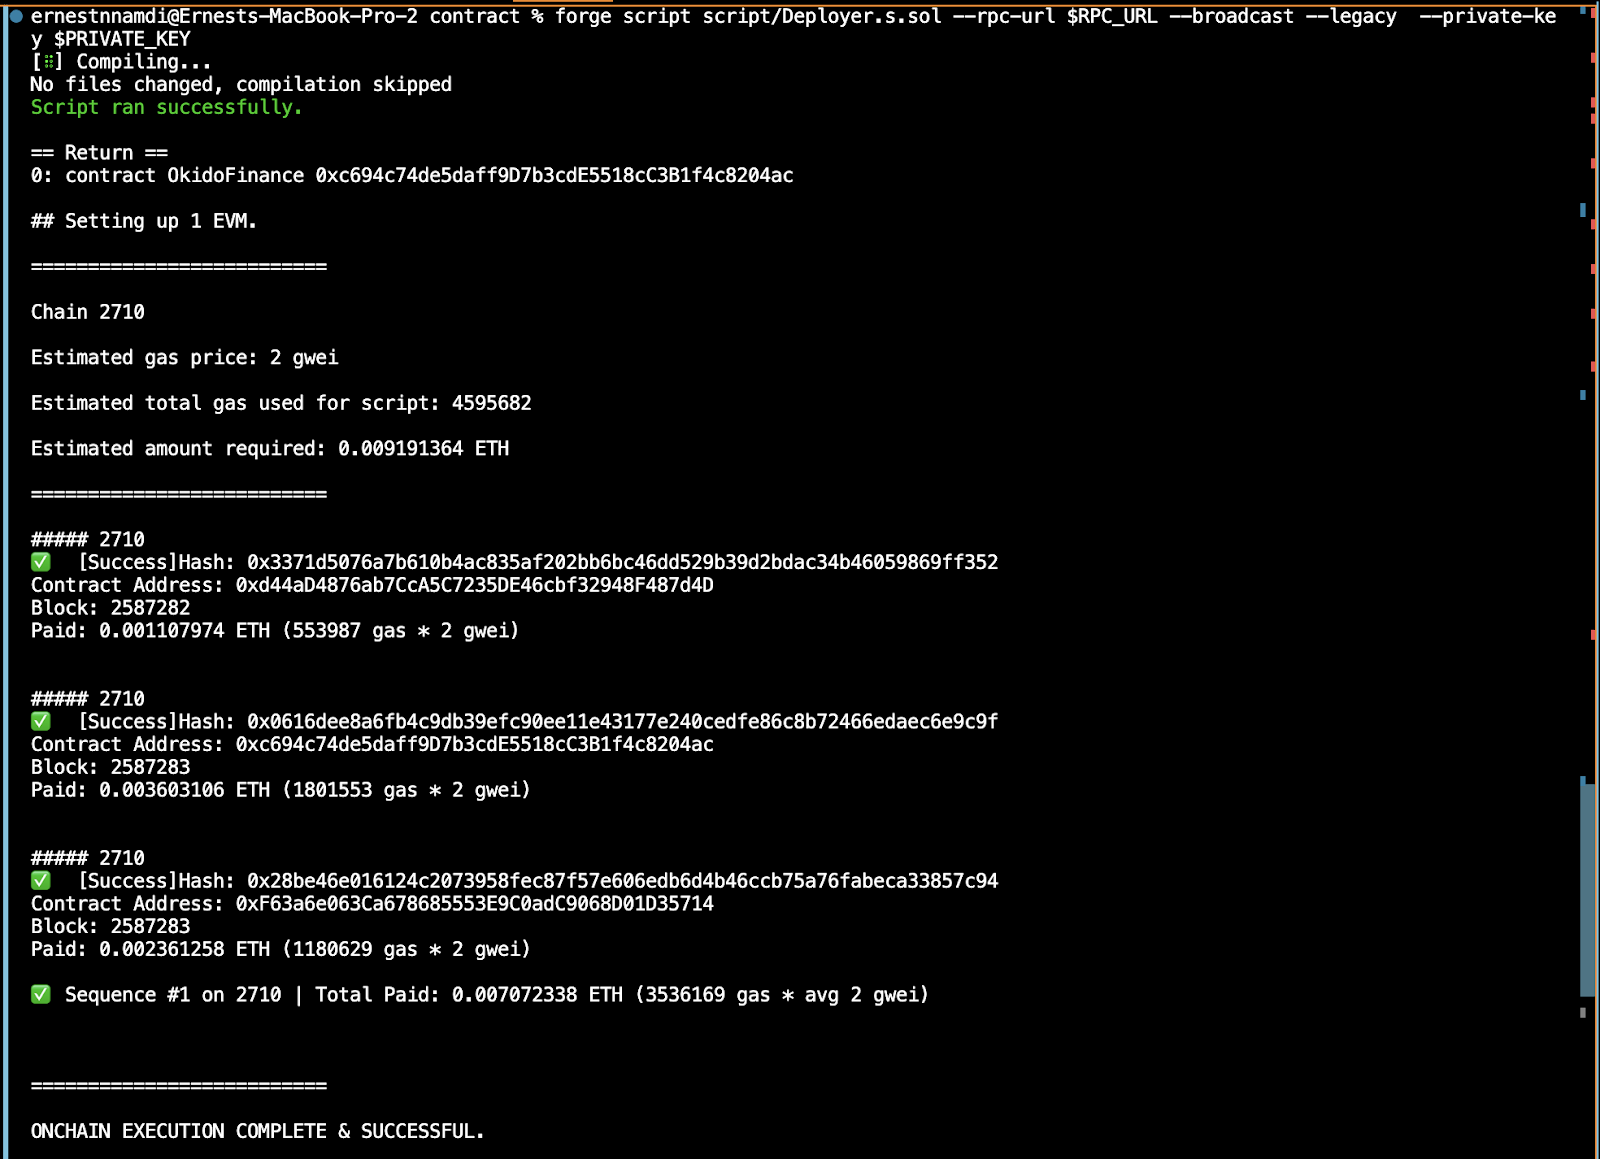
- Note down the address of the token and that of Okido finance. You can validate if an address is the token address by pasting it in the Morph testnet explorer.
Step 4: Getting started on the frontend
- In the root directory of the project, navigate to the frontend directory.
- In the constants folder, create two files “OkidoTokenAbi.ts” & “OkidoFinanceAbi.ts” respectively.
- To get the ABIs, head back to the contract directory and navigate to the “out” folder.
- In the “out” folder, locate the okido finance and okido token sub-folders and copy the json object.
- Paste the json object in the new files you created in the “constants’’ folder in the frontend directory and export it. Ensure you delete the bytecode so you are left with just the ABI array.
You can find an example of the OkidoFinanceAbi.ts file here
- In the index.ts file, add the addresses of the Okido token and Okido finance which we got after deploying the contract. Your index.ts file should look like this:
Step 5: Interacting with your smart contract from the frontend
Navigate to the “app” folder in the “src” directory.
Page.tsx
- Copy the code for this file from here
Core function & hooks
In the page.tsx file, we need to retrieve and display the list of fractionalized properties available for investment. This involves interacting with our deployed smart contract to fetch the necessary data.
Here's what's happening in this code:
- Reading from the Contract:
- useReadContract Hook: This hook is part of the Wagmi library, which we use to interact with our smart contract.
- abi: This stands for Application Binary Interface. It’s a JSON array that describes the contract's methods and how to interact with them. Here, okidoFinanceAbi contains the ABI of our Okido Finance contract.
- address: The address of our deployed Okido Finance contract on the blockchain.
- functionName: This is the name of the function we want to call on the contract. In this case, we’re calling the listProperties function, which returns the list of all fractionalized properties.
- Handling the retrieved data
- useEffect Hook: This is a React hook that lets us perform side effects in functional components. Here, we use it to update our component state whenever propertyData changes.
- Conditional Check: The if (propertyData) condition ensures that we only attempt to update the state if propertyData is not null or undefined.
- setProperties: This function updates the state with the retrieved property data, which will then be used to render the list of properties in our DApp.
AddPropertyModal.tsx
Copy the complete code for this modal here
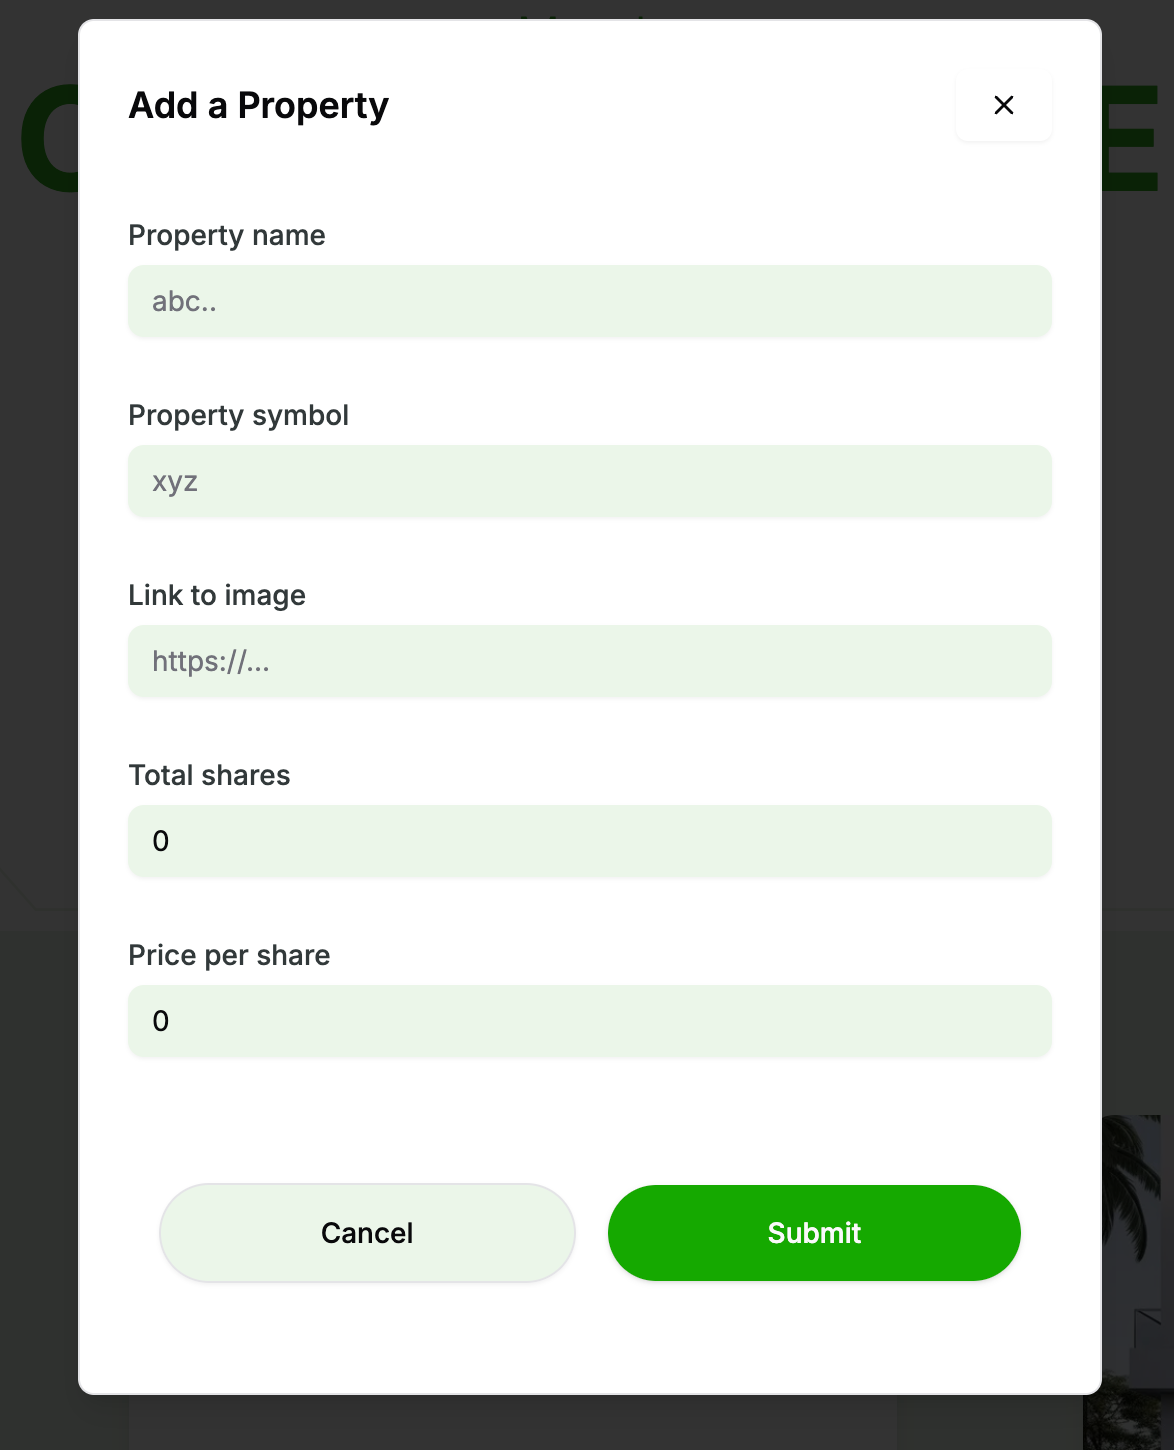
Core functions and hooks
In our Okido Finance DApp, handling transactions smoothly and validating user input are crucial for a seamless user experience. This section demonstrates how we manage transaction states using React hooks and notifications, and how we validate and process form data for adding new properties.
Managing Transaction States
First, let's look at how we handle different transaction states such as confirming, confirmed, and error using the useEffect hook and toast notifications.
Here's what this code does:
- React useEffect Hook: We use useEffect to perform side effects in our component. It runs when any of the dependencies (isConfirming, isConfirmed, error, hash) change.
- Transaction Pending: When isConfirming is true, we show a loading toast notification indicating that the transaction is pending.
- Transaction Successful: When isConfirmed is true, we display a success toast notification. The notification includes an action button labelled "View on Etherscan" that opens the transaction details on the Etherscan explorer.
- Transaction Failed: If there's an error, we show an error toast notification.
Validating and Processing Form Data
Next, let's validate user input and process the form data to add new properties to the Okido Finance DApp.
- Form Schema: We define a schema using zod to enforce validation rules on the form data. Here, we use z.any() for simplicity, but in a real-world scenario, you should use more specific validators.
- useForm Hook: The useForm hook from react-hook-form initializes the form with the specified schema and default values. This helps in managing form state and validation.
Adding a New Property
Finally, let's implement the function to add a new property:
- Form Submission: When the form is submitted, the AddProperty function is called with the validated form data.
- writeContractAsync: This function interacts with the Okido Finance smart contract to create a new property. It sends a transaction with the form data as arguments.
- Error Handling: If the transaction fails, we catch the error, show an error toast notification, and log the error message.
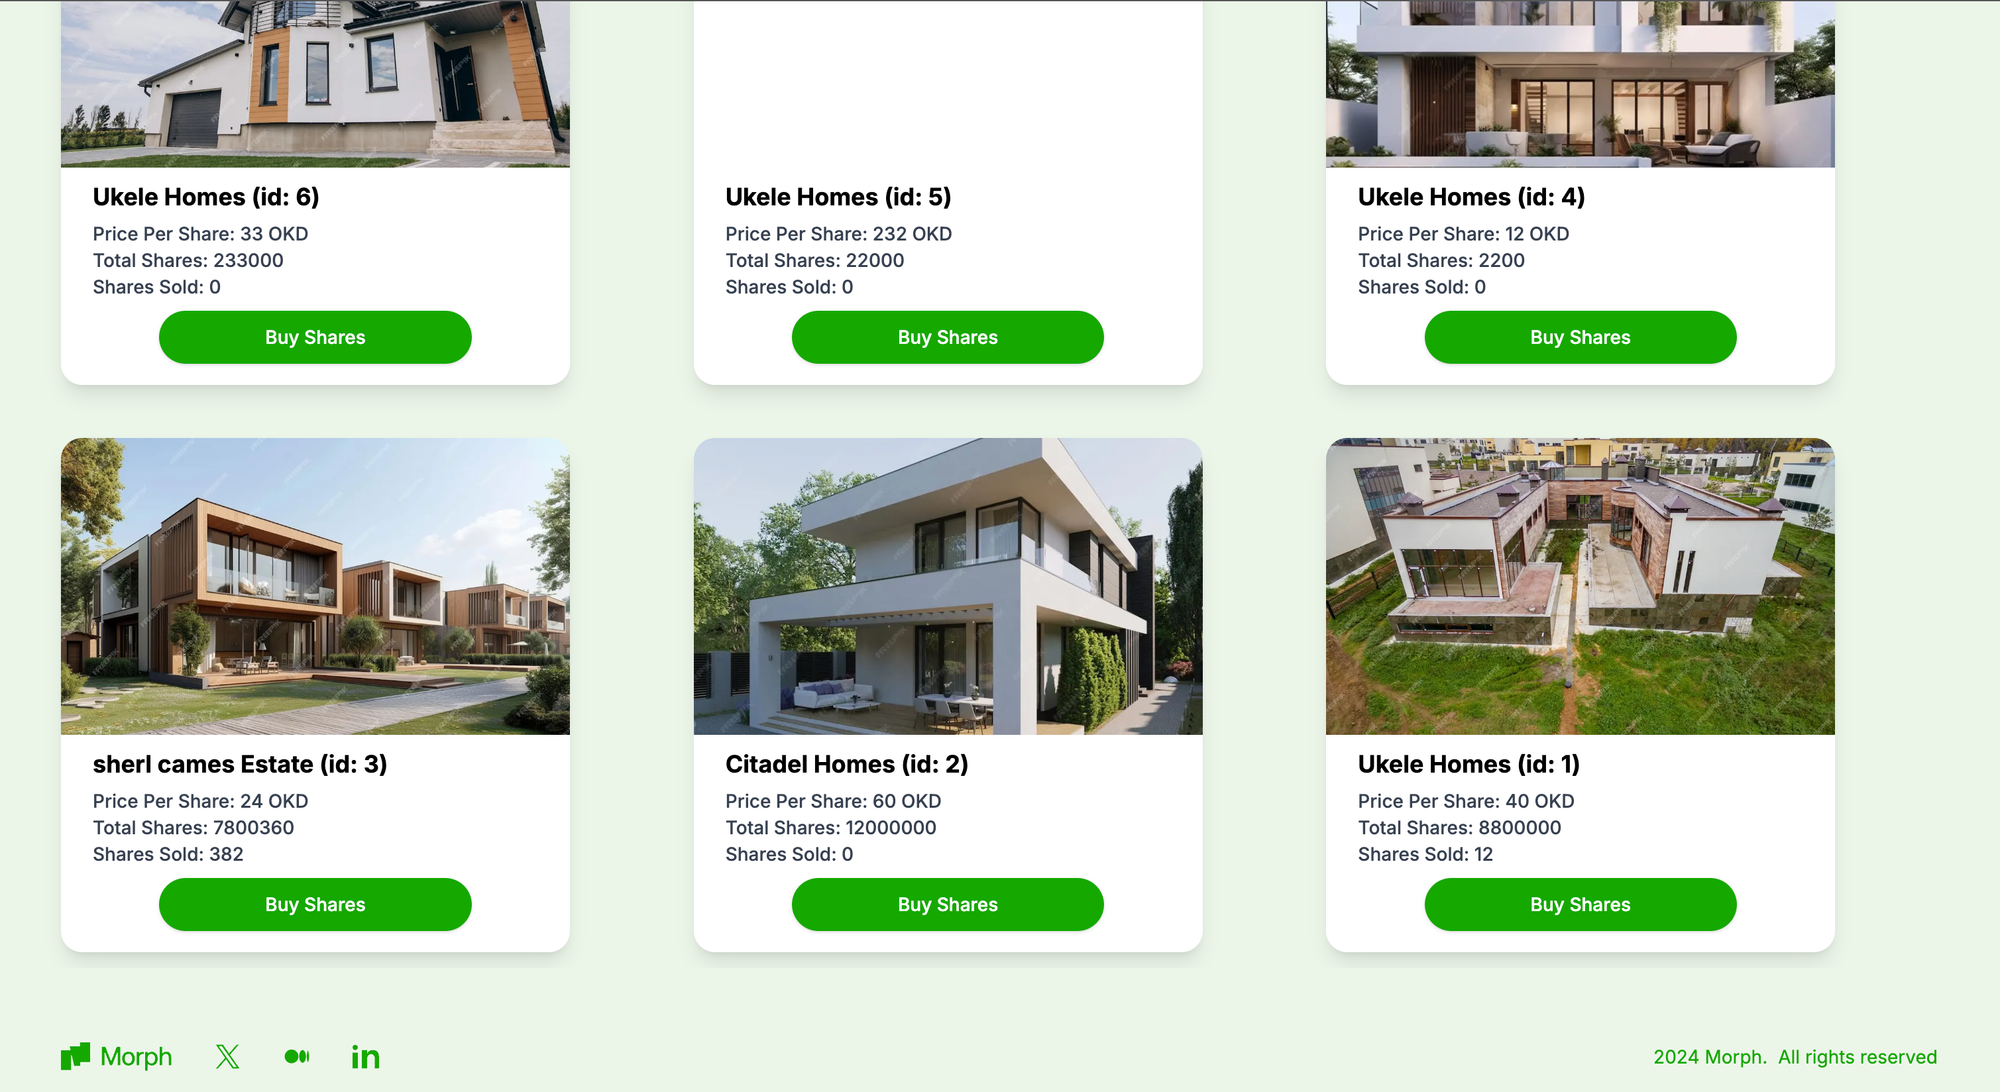
PropertyCard.tsx
This is a UI component that displays the details fetched from the contract. It is only displayed if a property has been created.
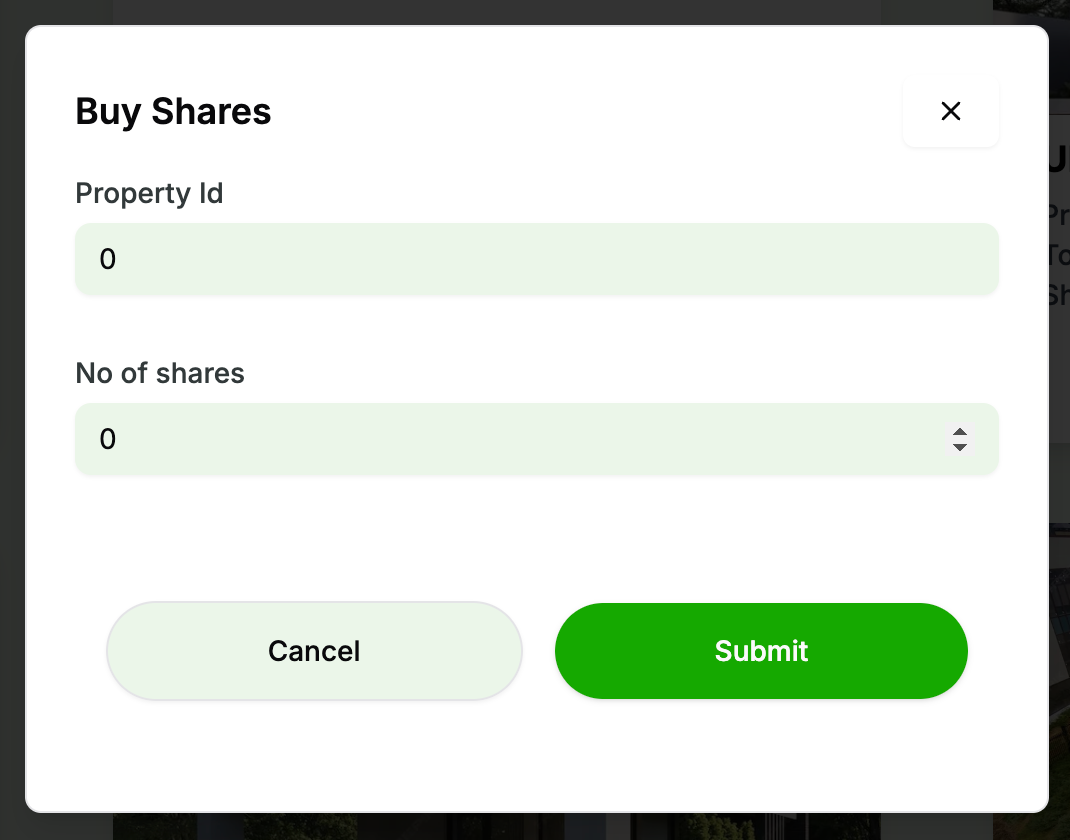
BuySharesModal.tsx
This has a similar design and functionality with the “AddPropertyModal”. This component allows users to buy fractions or shares of listed properties. The complete code for the component can be found here.
Conclusion
In this guide, we have gone over how to build a fractionalized real-estate dApp using the Morph starter kit. We explored setting up your environment, creating your contracts, deploying and interacting with your smart contracts from the frontend.The complete code, checkout the github repository: Okido finance dapp & you can watch a demo of the dApp here.
If you found this guide useful, leave a comment. If you have any questions or get stuck, create an issue on github or reach out on discord.