Developer Guide: Building a Decentralized Hotel Booking System on Morph

A step-by-step guide to building on Morph.
Introduction
This guide walks you through the process of building a decentralized hotel booking system on the MorphL2 blockchain using Solidity smart contracts and a React & Wagmi front-end. This system allows hotel owners to add rooms, manage room availability, accept bookings, and receive reviews from guests.
Objectives
By the end of this tutorial, you should be able to:
- Build and interact with dApps using the starter template.
- Build and deploy dApps on Morph.
- Interact with dApps from the frontend.
About Morph
Morph bridges the gap by transitioning real-world applications on-chain. As the blockchain industry sees sustained institutional and consumer adoption, the need for a consumer blockchain that brings everyday use-case solutions on-chain is imminent. Morph's unique architecture combines the advantages of optimistic rollups and zero-knowledge (ZK) rollups to form an Optimistic-zkEVM solution.
Read more about Morph's architecture here.
What are we building?
We are building a decentralized hotel booking dApp with basic functionalities. This guide will help you learn and get comfortable with building and interacting with dApps on Morph.
What we'll cover:
- Setting up your environment
- Creating your smart contract
- Deploying your smart contract
- Getting started with the frontend
- Interacting with your smart contract from the frontend
Step One : Setting up your environment
Morph-starter-kit:
This kit sets up your environment to work with Foundry and Wagmi, including all necessary configurations needed to deploy on Morph.
Regardless of whether you are using the starter kit or setting it up manually, follow these steps:
- Rename .env.example to `.env`
- In the `.env` file, add your wallet's private key. Refer to this guide on how to export your private key.
- Add the RPC URL for the Morph testnet. You can find the URL here.
Your `.env` file should look like this:
Step Two : Creating your smart contract
Using the Starter Kit:
Navigate to `contract -> src` in your starter kit and create two files: `Token.sol` and `Booking.sol`.
Not Using the Starter Kit:
Create two files in the src folder of your Foundry project named `Token.sol` and `Booking.sol`.
Token Contract
This will be a basic ERC20 contract that mints tokens to the `msg.sender` on deployment.
Booking Contract
The booking contract will take in the token address on deployment and includes functions to add rooms, book rooms, manage availability, fetch rooms, and withdraw tokens. You can access and copy the booking contract from here
Step Three : Deploying your smart contract
The deployment process is the same regardless of your setup method.
- In your `script` folder, create a file named `Deployer.s.sol`
- Paste the following script in the file:
- In your terminal, navigate to the `contract` folder and run `source .env`.
- Deploy your script with the following command:
You should see the following in your terminal
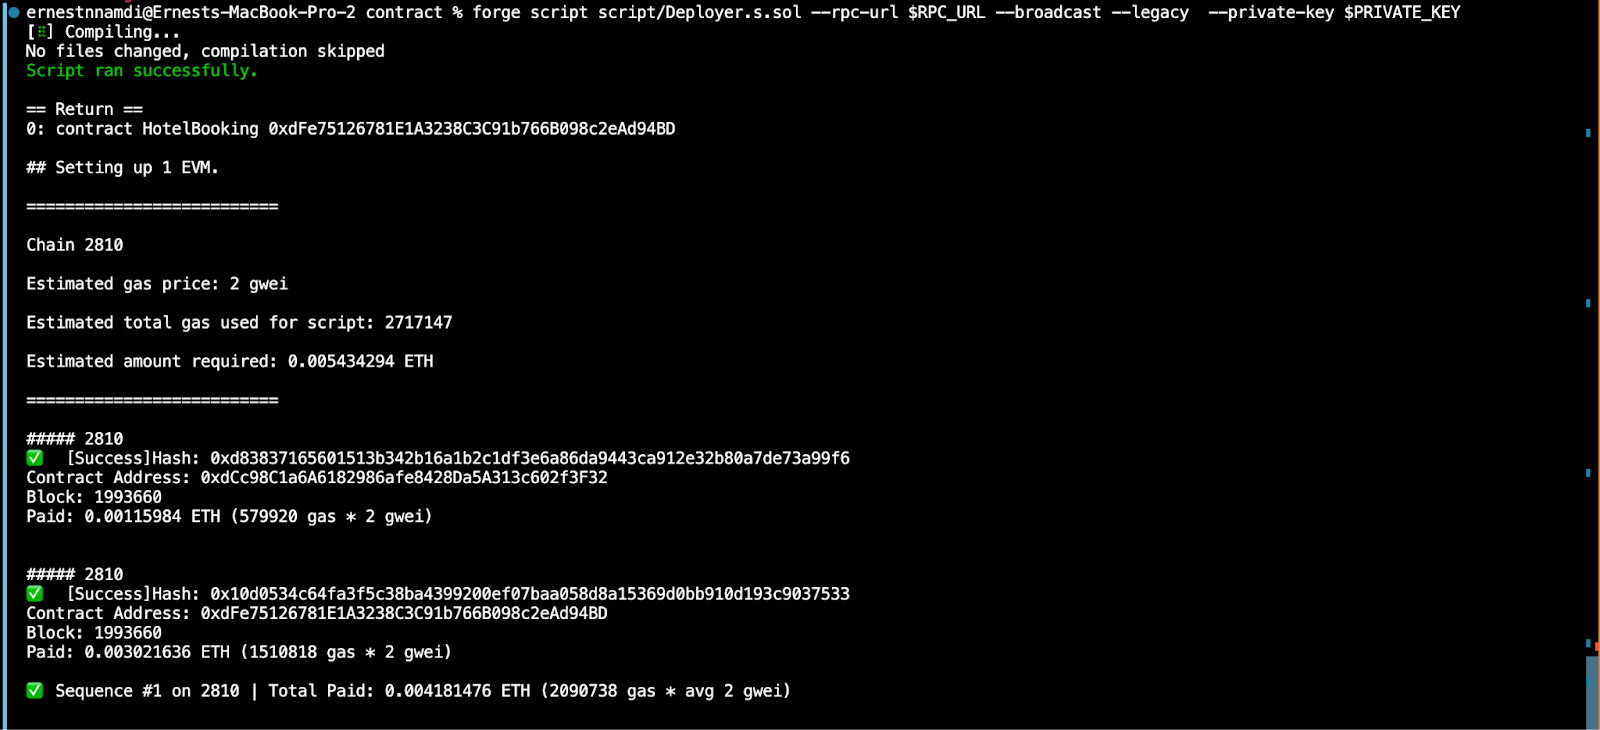
- Note down both contract addresses for use in the frontend.
Step Four : Getting started on the frontend
Now we are done with the contract folder, we will navigate to the frontend folder.
- In your `.env.local` file, add your WalletConnect ID. Refer to this guide on how to get your WalletConnect ID.
- In the `constants` folder, create two files: `tokenAbi.ts` and `bookingAbi.ts`.
- Navigate to `contract => out => booking.sol => HotelBooking.json` and copy the ABI (excluding the bytecode). Paste it into `bookingAbi.ts` and ensure it is exported.
- Repeat the above step for `tokenAbi.ts`.
In `index.ts`, add the addresses for the token and booking contracts, and import the respective ABIs:
Additional Setup (if not using the Starter Kit)
You will also need to install shadcn and the following shadcn libraries:
- alert-dialog, button, dropdown-menu, form, input, label and sonner
- Create a file in the `Utils` and add the code below for formatting addresses. Also ensure it is imported properly in the `nav.tsx` file in the components folder
Step Five : Interacting with your smart contract from the frontend
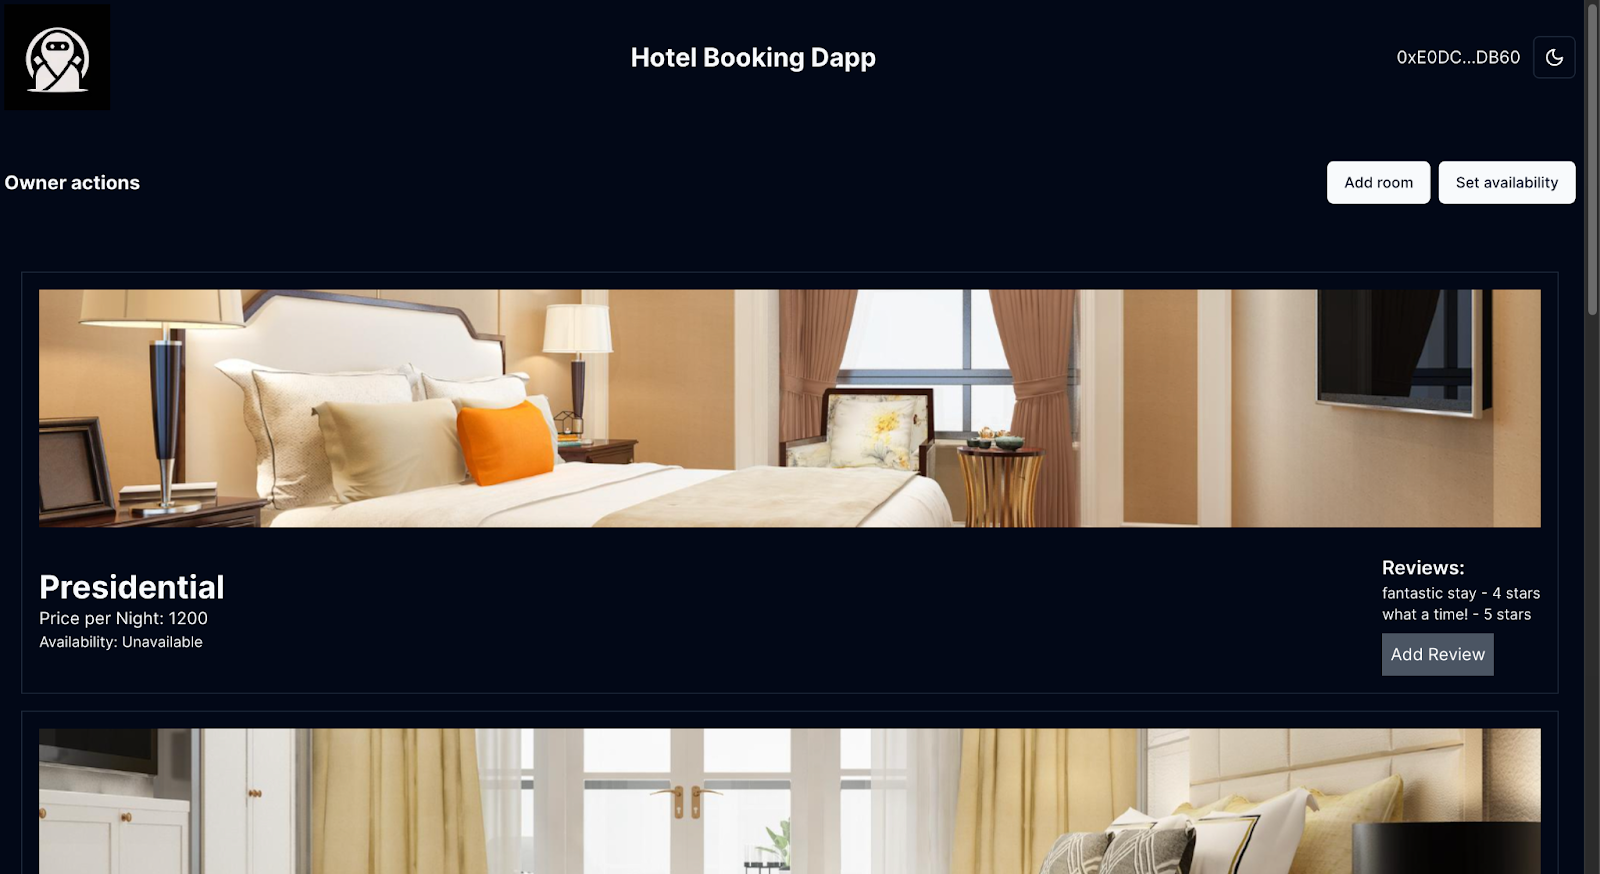
Our homepage has a simple UI, which displays the owner's actions (add rooms, set availability) and also rooms after they have been added by the owner.

Hook to Read Contract
The above `useReadContract` hook is what is used to interact with our contract. This hook takes in an object that contains the abi of the contract we are trying to call(booking contract in this case), the address of the contract and the specific function we are trying to call. The `getAllRooms` function in the `booking.sol ` contract, returns all created rooms on the contract.
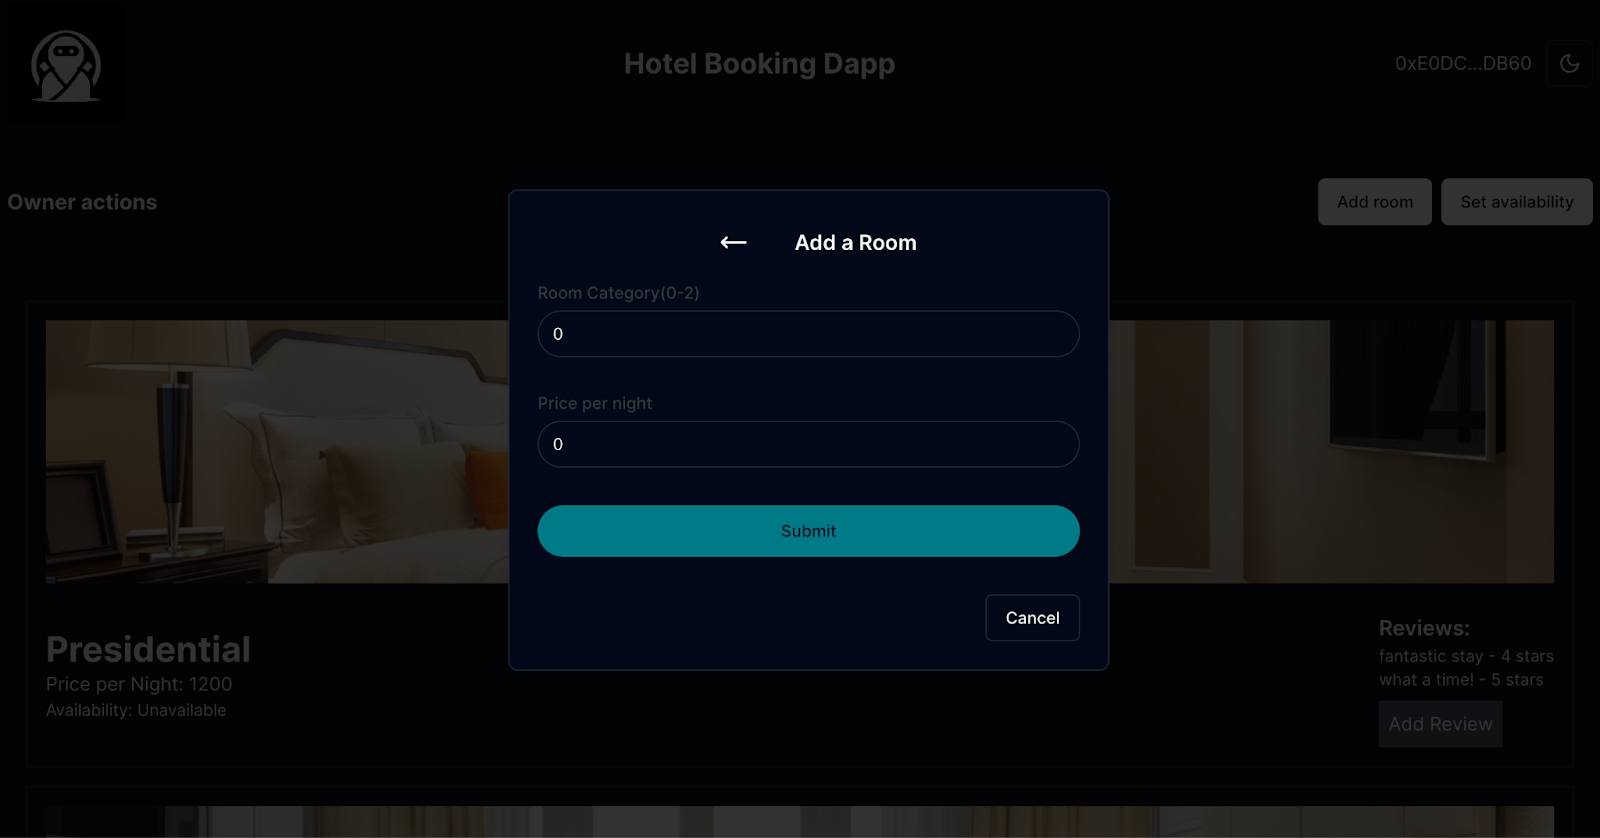
Adding a room(AddRoomModal.tsx)
Create a modal where the owner specifies the room category and price per night. This modal uses `React-Hook-Form` to collect input and the `useWriteContract` hook to interact with the smart contract.
You can find the complete code for this modal here.
Noticeably different from the last hook we used on the homepage is the useWriteContract hook we use in this modal.
The add room function(AddRoomModal.tsx)
This function takes in data from the input fields and proceeds to call `writeContractAsync` which is destructured from the `useWriteContract` hook. This hook is used for making write transactions to the blockchain. It takes a similar object as the read hook but this time, it has an extra field called `args`. This is where we pass in arguments for the functions we intend to call.
Room Card(RoomCard.tsx)
The room card component displays all created rooms and allows users to book available rooms.
This component has a function which is the `handleBookRoom` function that enables users to reserve rooms by paying the price per night for the selected room.
The complete code for the roomCard component is available here.
The review modal(AddReviewModal.tsx)
The review modal is similar to the add room modal and only different in terms of the number of inputs and the smart contract function being called.
The review modal is available here.
Below is a picture of how our dapp should look like with a few rooms created.
Conclusion
In this tutorial, we have gone over step by step, building, deploying and interacting with a hotel booking dapp on morph using foundry and nextJs.
The complete code for the project can be found here.
Some possible steps to carry out next might include:
- Implementing the `setAvailability` feature. Consider using a modal like we did for the addRoom feature and modify the `useWriteContract` hook.
- Take it a step further to impose stricter conditions around checkIn and and out date.
- Feel free to add as many more functionalities as you'd like and share them by making a PR.
If you have any questions or get stuck, create an issue on github or reach out on discord.


